SolarEdge Designer Review
- The SolarEdge company was established in 2006. Today, this is the leading inverter system provider. The SolarEdge inverter solutions and customized renewable energy installations are used throughout the world. One of the most demandable options for designers and photovoltaic-panel system installers is the SolarEdge designing application
The SolarEdge team state that their app aims to reduce the installation costs and to customize inverter solutions for residential, commercial, and large-scale projects. Let’s take a closer look at the SolarEdge online platform for PV system designers and installers.
Project Creation
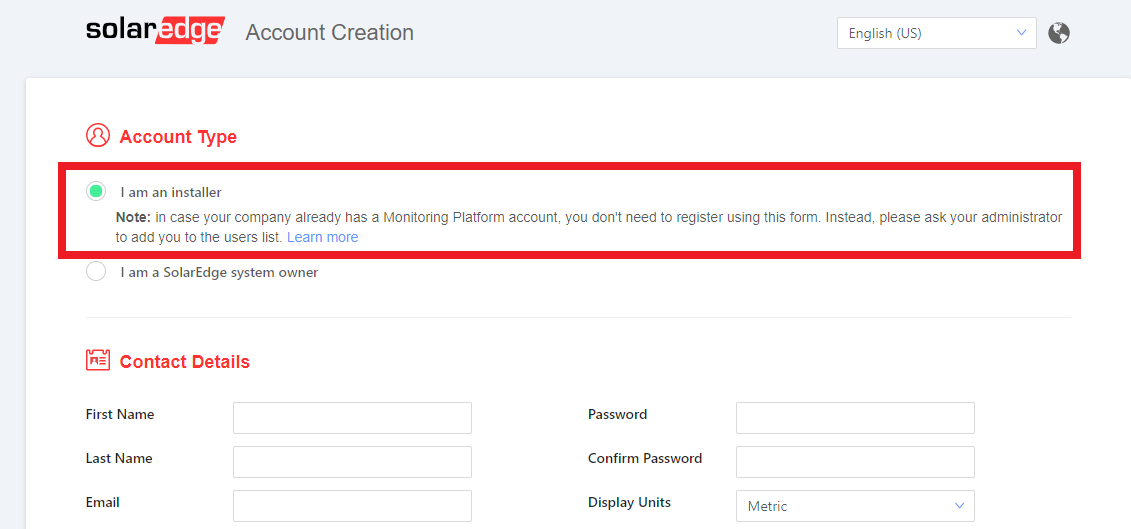
Note that the SolarEdge application cannot be used separately from other accessible services (PV inverters, EV charging, backup energy, power optimizer, PV monitoring software, etc.) of the global inverter solution provider. It means that the users should specify what kind of SolarEdge account they need. For example, there are two types of user accounts to choose from. Installers who use a corporate Monitoring Platform account can log in with the help of the company’s passwords. The administrator should add the installer or a designer to the list of individuals who have access to the corporate Monitoring Platform.
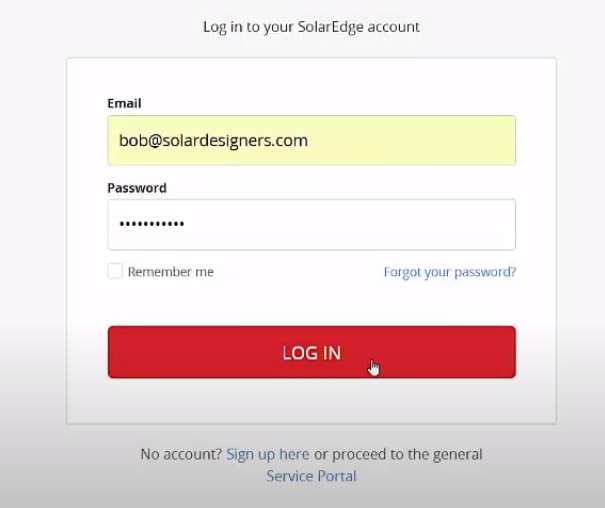
SolarEdge Designer system owners can create an account for free. It is necessary to fill in an online form. All the contact details should be specified (first name, email, password, display units, etc.). Then, the user will have a standard form for the log-in procedure.
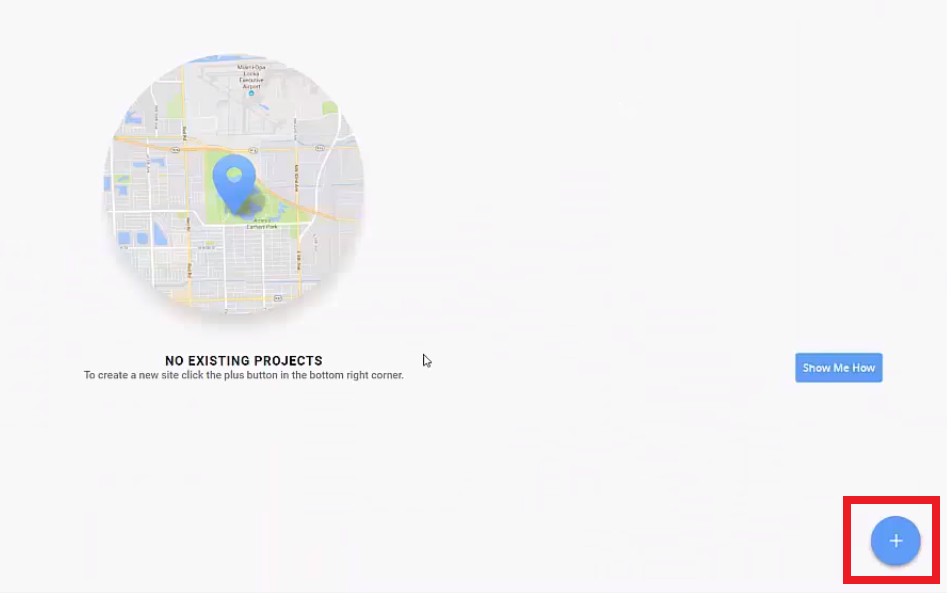
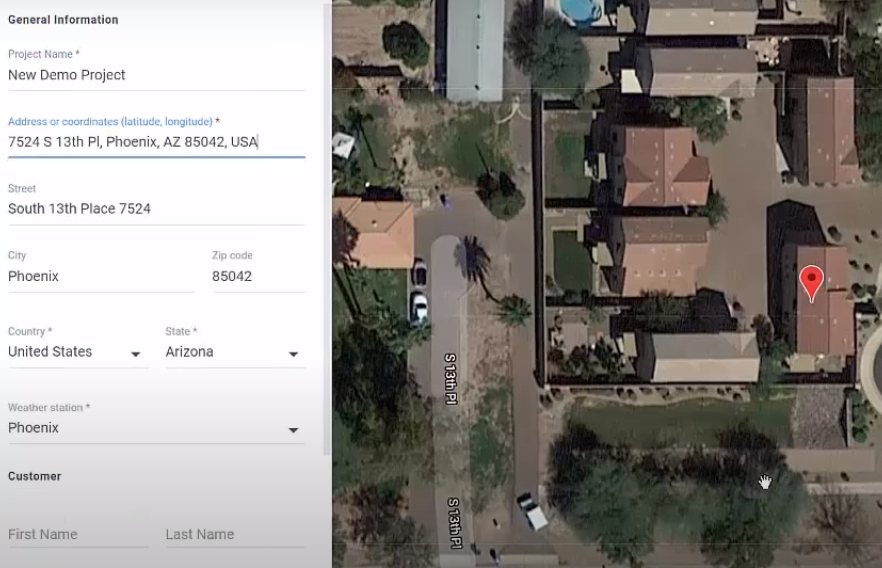
To create a new project, browse the SolarEdge design online platform and click the plus-like button in the bottom right corner. The menu with designing tools will appear right after the project info is specified.
The project information includes the geographical location of the object, a short description of the solar power project, and other information. It is worth noting that the SolarEdge software asks the user to specify coordinates manually. Additionally, the designer or PV system installer should provide information about the closest weather station.
Site Modeling & PV Module Placement
The procedure of the site modeling starts right after the project information is filled in the form. The type of the object (residential, commercial, large-scale) and the type of grids are specified in the Project Info section. The SolarEdge designing tools for site modeling includes the following options:
- 2D/3D site modeling solutions - there is a button on the top panel of tools;
- Snipping options to determine edges and angles of the rooftop accurately;
- Automated calculation of the site physical dimensions (in ft. and in.);
- Zooming, compass, and positioning options in the bottom right corner;
- The special-purpose Obstacles action button for determination of the obstacles;
- Advanced 3D designing tools with the selection of the rooftop dimensions.
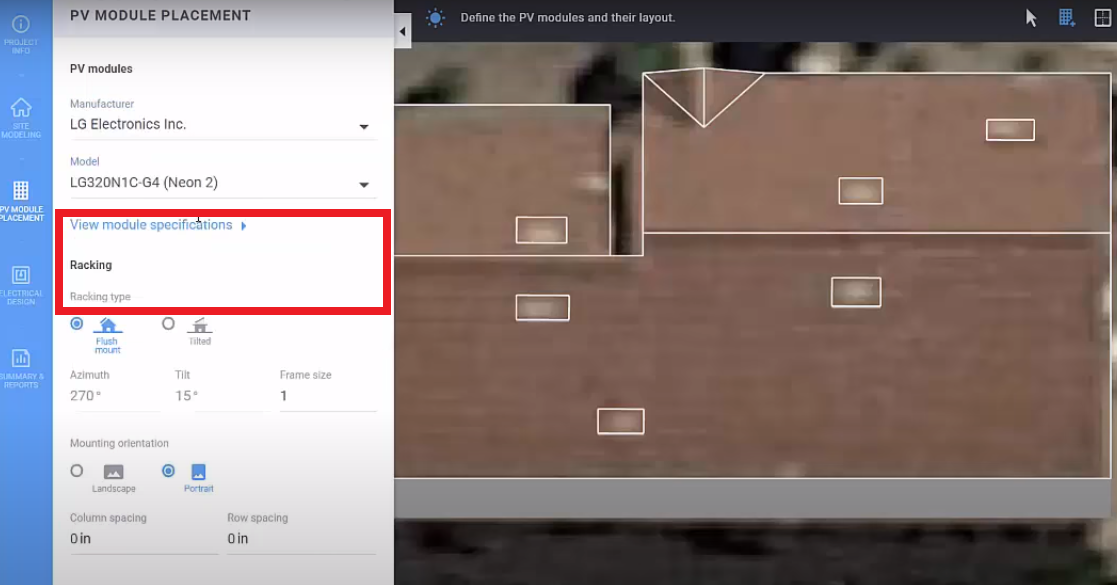
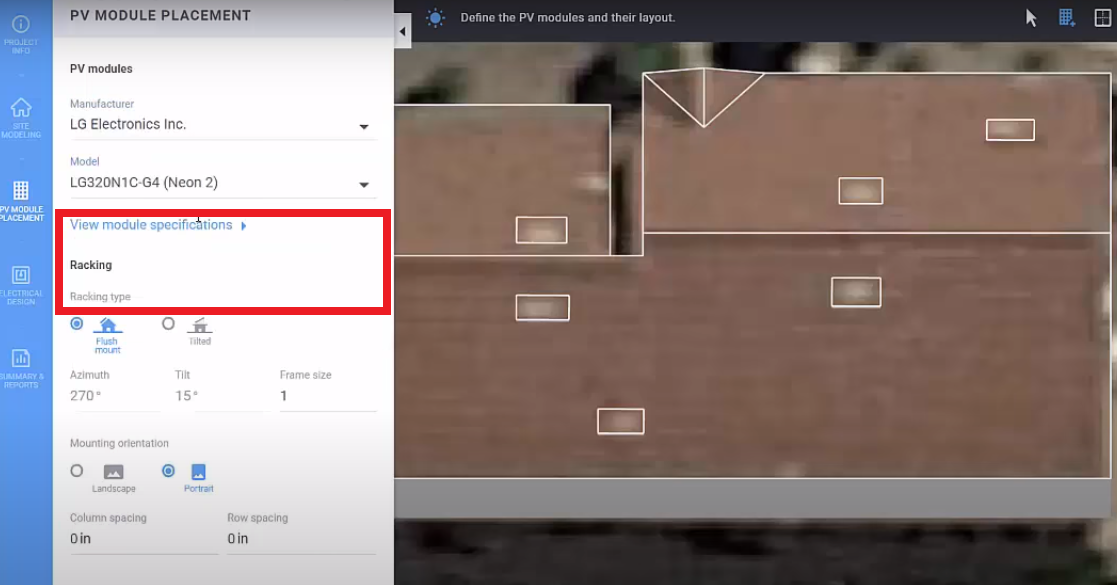
PV module placement is available in the separate-standing section in the side menu. The simulation process includes detailed information on the module type (manufacturer, type, module specifications, etc). The user should specify all the required parameters to run the simulation of the module system. The racking type together with azimuths and tile type and mounting orientation are also included for the proper PV module placement process.
It is worth noting that mounting orientation includes a selection of the landscape or a portrait design type and column & row spacing. The shading analysis and any shading options are not available in the SolarEdge software. Most designers name the absence of these essential tools one of the main weak points of the online solar platform.
Nevertheless, other accessible features in the SolarEdge desktop application for designers are user-friendly and easy-to-set (fully-customized).
Electrical Design & Summary Reports
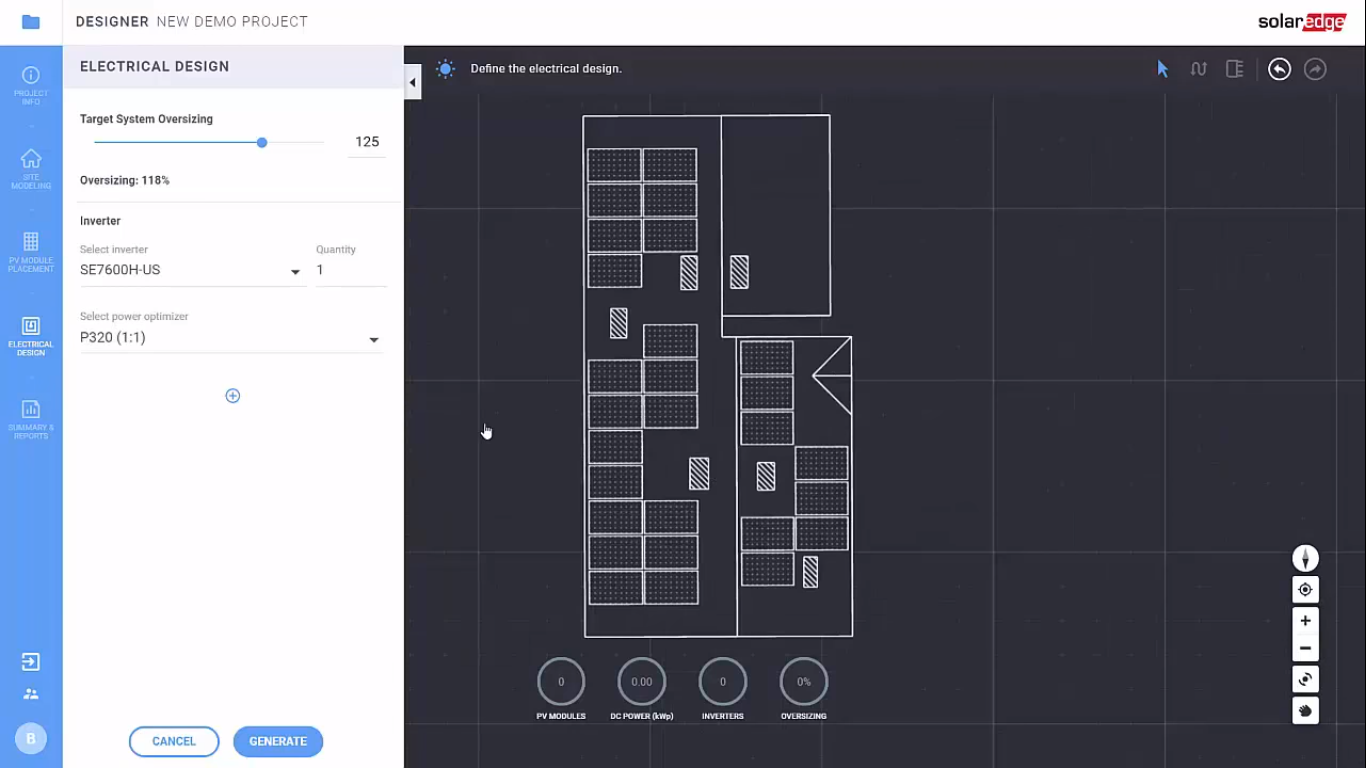
The section of tools for the electrical design contains different graphical options for the implementation of cost-efficient and energy-friendly inverter systems and solar PV modules. The users need to specify oversizing parameters, a type of inverters, and a power optimizer of their interest. With the action button Generate, it is possible to select a proper number of strings and drag optimizers through the selected strings. The table with current specifications will appear in the top right corner. If the user changes any parameters, all the showings in the table are synchronizing automatically.
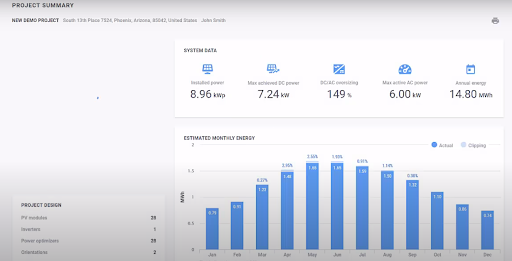
Speaking about reports, they are drawn up according to the provided information about the project. All the infographics appear in the Summary Report section. The user can analyze the solar system data together with the following key parameters:
- Installed power;
- DC power and AC oversizing;
- Annual energy;
- Estimated monthly energy.
The report can be printed. The printable documentation can be sent to customers, partners, and other participants of the PV system installation procedure.
The Final Word: SolarEdge Pros & Cons
The SolarEdge online application is suitable for designers, PV system installers, and solar power analysts. Most of the users consider this software as comfortable for designing purposes and module system simulations. But the application is not lacking in weak sport as well. The most notable advantages and disadvantages are presented below.
Pros:
- User-friendly application
- Easy navigation
- Free manuals and tutorial videos
- Regular updates
- Free account for corporate users
Cons:
- Pricing instability
- Lack of shading analysis
- Lack of comprehensive reporting
- Tutorial classes and webinars are fee-paying.
Also Read:
Also read

