How Can You Plan Solar Powered Lighting for a Garden Shed Without Overbuying?
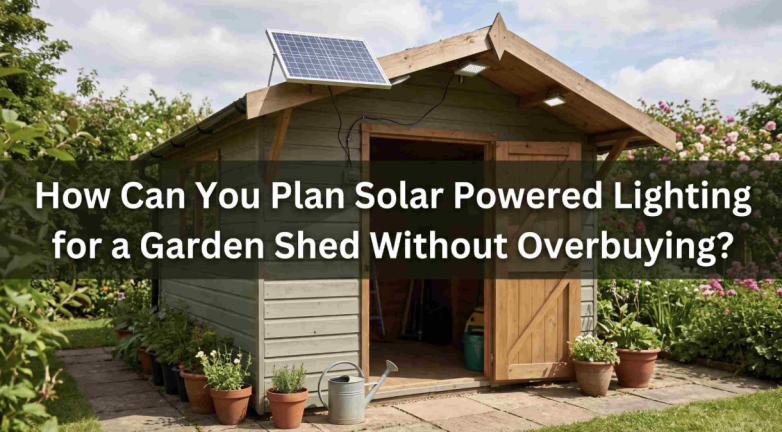
Most people tackle a garden shed solar project backwards. They look at a large solar kit online, click buy and end up with enough capacity to run a small cabin just to power a single overhead light. You can easily spend three times what you need if you don't map out the actual irst. Shed lighting is a straightforward low voltage application. You just need to match the components to the job. I see too many setups where the battery costs more than the shed itself.
Figure Out Your Actual Power Draw
Start with the lights. You're likely looking at 12-volt LED strips or a couple of basic DC bulbs. Look at the wattage rating on the packaging. A typical LED bulb draws about 5 to 10 watts. If you put two 10-watt bulbs in the shed your total draw is 20 watts.
Next estimate how long you will have them on. If you only go in there to grab tools in the evening, you might use the lights for an hour a week. If you use the shed as a workshop, you could be running them for four hours a night. Multiply the total watts by the hours of use per day. Two 20-watt bulbs running for two hours is 40 watt-hours per day. That single number dictates every other purchase you make. Don't guess this figure.
Sizing the Solar Panel Correctly
Once you know you need 40 watt-hours a day, don't buy a 100-watt panel. Solar panels are rated for ideal conditions in perfect laboratory environments. In the real world you can expect about four hours of good sunlight a day depending on your location and the season.
A 20-watt panel getting four hours of sun will generate roughly 80 watt-hours. That is double your daily requirement. It leaves plenty of room for cloudy days and winter months when the sun is lower in the sky. Buying anything larger for this specific setup is a waste of money and mounting space. Keep the panel small and mount it facing the equator, entirely free from tree shade.
Choosing the Right Battery
Batteries store the power your panel generates. For a small shed setup lead acid sealed batteries or small lithium iron phosphate units are standard. You want to size the battery to hold a few days worth of power so you aren't left in the dark after a rainy weekend.
Take your daily 40 watt-hour requirement and multiply it by three days. You need 120 watt-hours of storage. To find the amp-hour rating you need for a 12-volt system, divide the watt-hours by the voltage. 120 divided by 12 gives you a 10 amp-hour battery. If you use lead acid, double it to 20 amp-hours because you shouldn't drain them past half capacity. With lithium, a 10 or 12 amp-hour battery is plenty. Lithium costs more upfront but lasts significantly longer.
Fusing the System for Safety
Even small batteries can push a massive amount of current if the wires short out. If a mouse chews through your lighting wires and they touch, the battery will heat that wire until the insulation melts and starts a fire. People skip fuses on small systems because they assume low voltage means low danger. That's incorrect.
You need an inline fuse as close to the battery positive terminal as possible. For a small lighting circuit, a 5-amp automotive blade fuse is usually enough. It costs pennies and is strictly non-negotiable.
The Importance of Good Connectors and Wiring
A common mistake is using cheap wire and poor connections. A shed is often unheated and damp. Temperature swings create condensation. If you twist bare wires together and wrap them in cheap electrical tape, they will corrode within a year and your lights will start flickering.
Use proper marine grade wire and sealed connectors. When connecting the battery to the fuse block or the light switch, I always look for a quality Molex Wire Assembly or something with equivalent weather sealing. Getting pre-assembled wires with proper terminations saves you the headache of crimping small pins in a dark shed. It also prevents moisture from creeping into the copper strands and turning them green.
Picking a Reliable Charge Controller
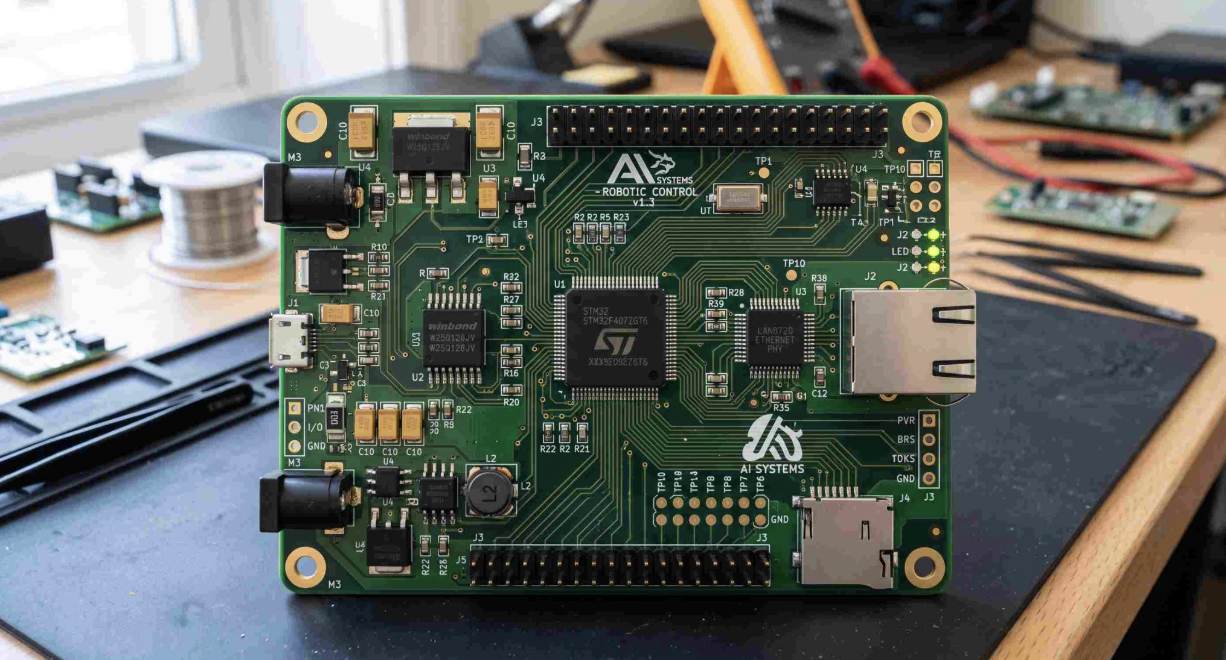
The solar charge controller sits between the panel and the battery. It prevents the panel from overcharging the battery and stops power from draining back into the panel at night. For a 20-watt panel, a basic PWM controller is perfectly fine. You don't need an expensive MPPT controller for a system this small.
Pay attention to the build quality of the controller. The internal components matter if you want it to last more than one summer. Many reliable controllers on the market source their circuit boards globally to maintain a balance of cost and durability. You might find that a high quality controller uses boards from a PCB manufacturer Spain and then handles final casing and testing elsewhere. That kind of supply chain often yields better longevity than the cheapest unbranded plastic boxes you find on major retail sites. A good controller will have clear, heavy duty terminals for your wires.
LED Lights and System Longevity
The fixtures themselves should be built for rough environments. Don't use indoor house lamps with converters. Stick to native 12-volt DC fixtures. This avoids the need for an inverter which wastes a lot of power just sitting idle and converting DC to AC.
When selecting LED strips or enclosed fixtures, look at the heat dissipation. Good LEDs manage heat well. The global electronics market is highly segmented now to optimize production. It is very common for reputable mid-tier solar lighting brands to rely on PCB assembly in Turkey for their LED driver boards. This provides a solid middle ground between premium pricing and the lowest tier generic imports. Those components will easily outlast the battery if you keep the moisture out. Always mount the lights securely so they don't vibrate loose when you operate heavy tools.
Putting It All Together
Mount the panel securely to the roof or a sun facing wall. Run the cables through a drip loop so water doesn't travel down the wire into the shed structure. Connect the charge controller to the battery first. This is a strict rule. The controller needs to read the battery voltage before you introduce power from the solar panel. If you hook up the panel first, you can fry the controller instantly.
Once the battery is connected, wire in the solar panel. Finally connect your load wires to the lights through a simple DC-rated wall switch. You don't need complex smart relays or network enabled switches for a shed. A standard toggle switch is immune to router issues and freezing temperatures. Turn it on, see your tools, turn it off. Keep it practical.
Also read
- How Can You Make a Solar Installation Proposal Easier for Homeowners to Understand?
- What Should You Ask About Electrical Connections Before Buying a Home Solar System?
- How Can You Plan Portable Solar Power for a Weekend Away?
- Solar PV and Pool Heat Pumps in Australia: How to Reduce Heating Costs Without Oversizing Your System
- World Sustainability Forum Continues Global Impact with WSF-13 and Sustainability Awards in 2027